
How to connect your WordPress blog
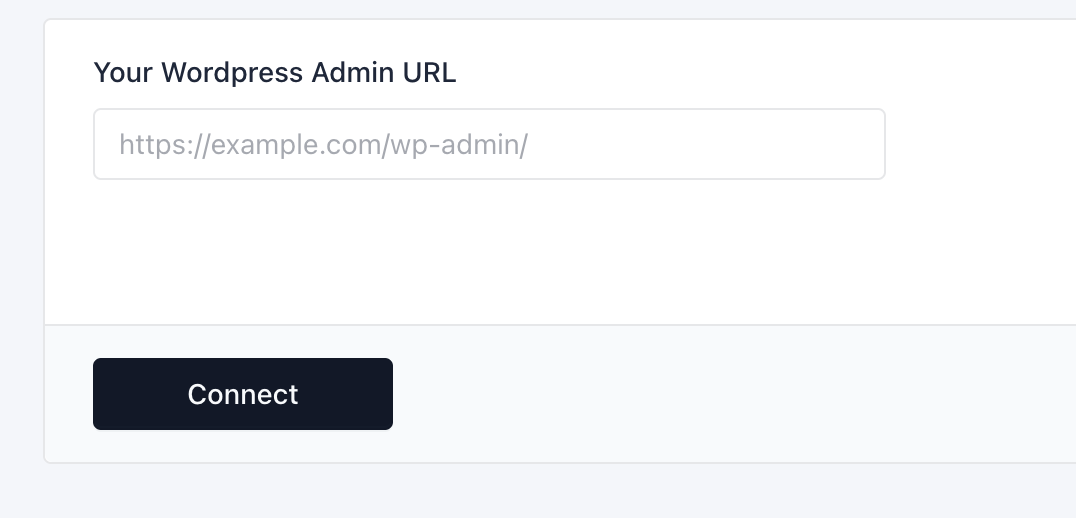
Enter your website URL in the connection settings page and click Connect.
wp-login.php or wp-login.
The URL needs to look exactly like the example. If you use a custom WordPress admin area location,
use that path instead.
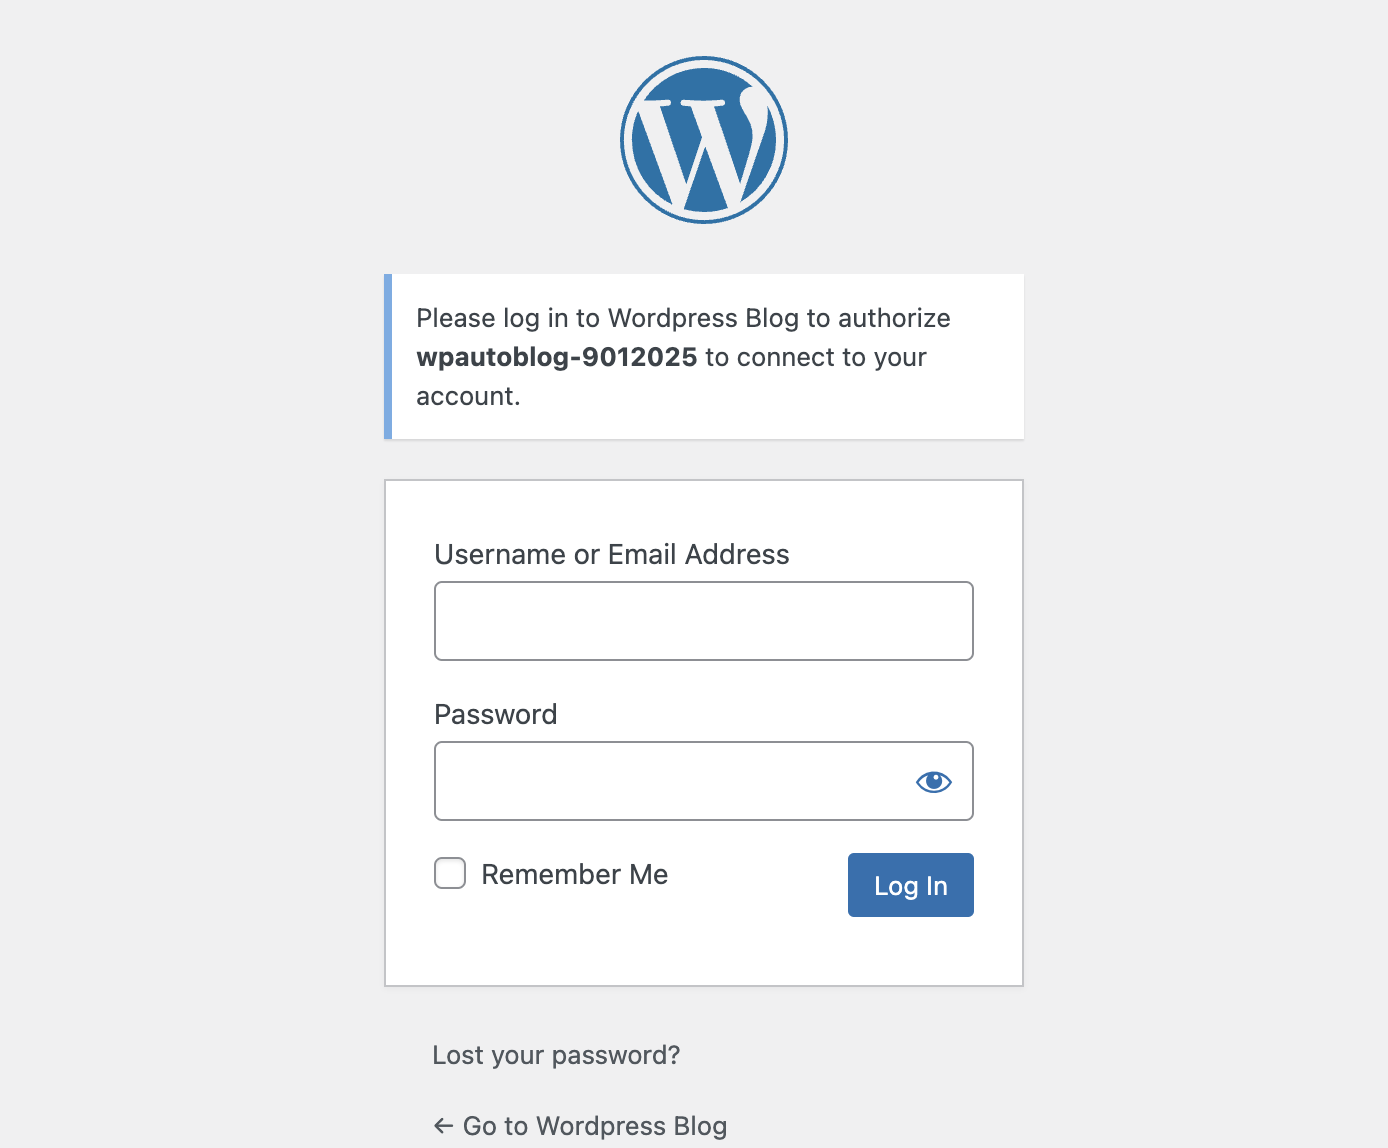
You will be redirected to your WordPress admin area to log in, where you will see a notification above your normal login box.
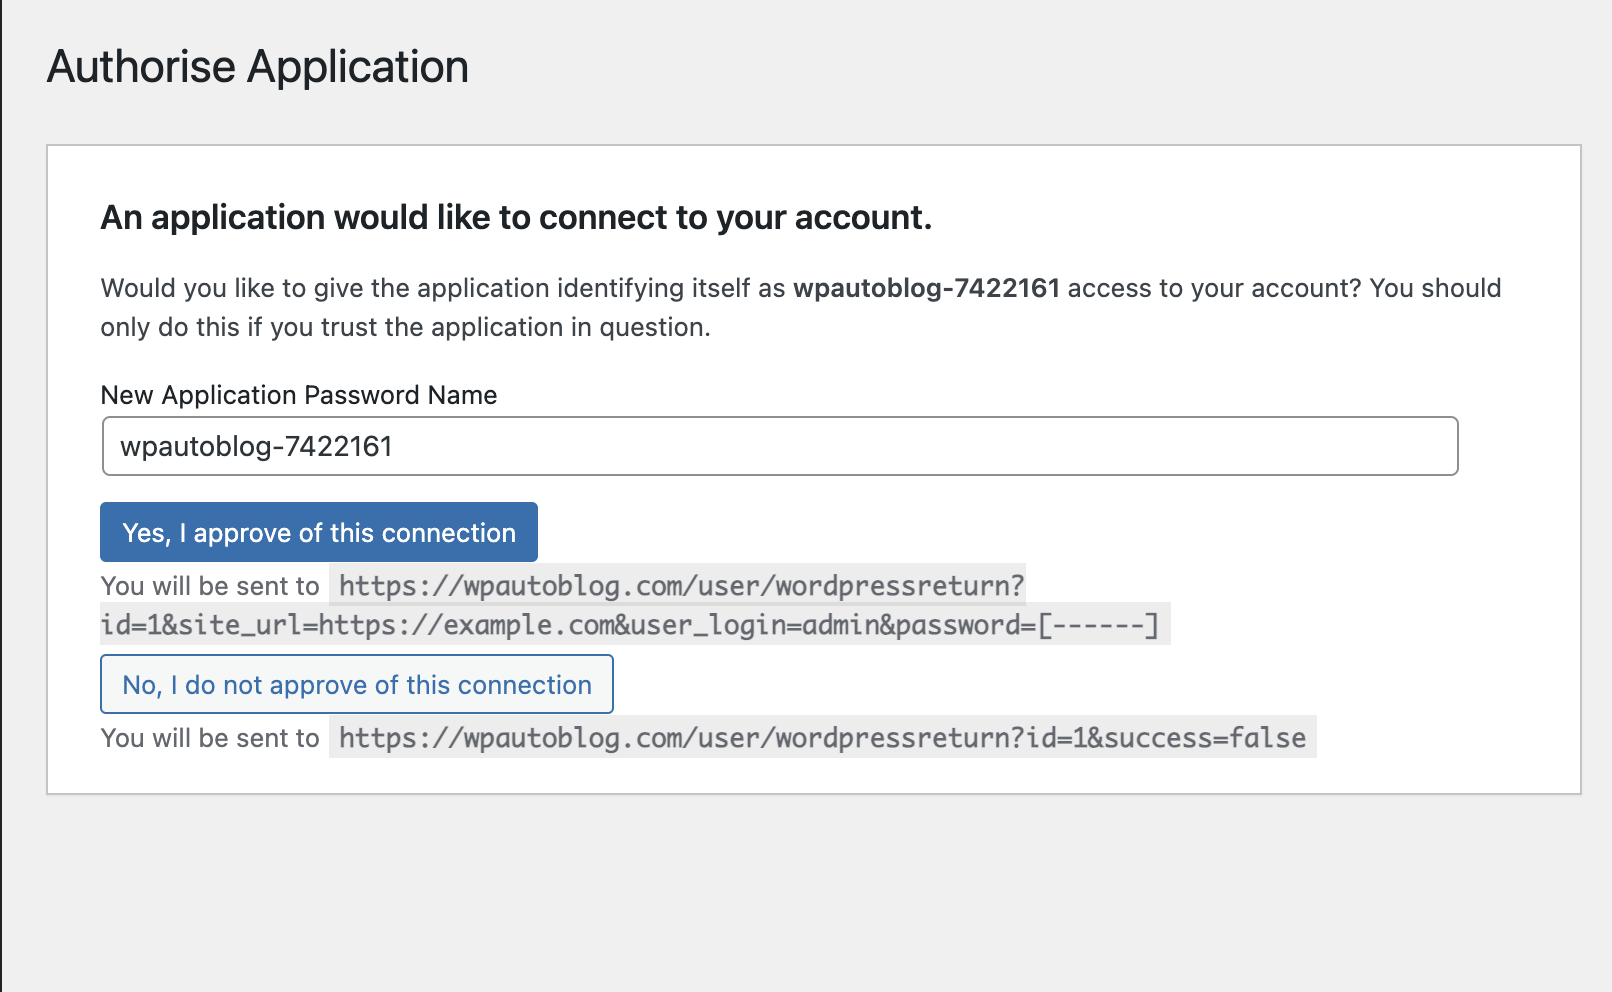
Once you are logged in, confirm the application access.
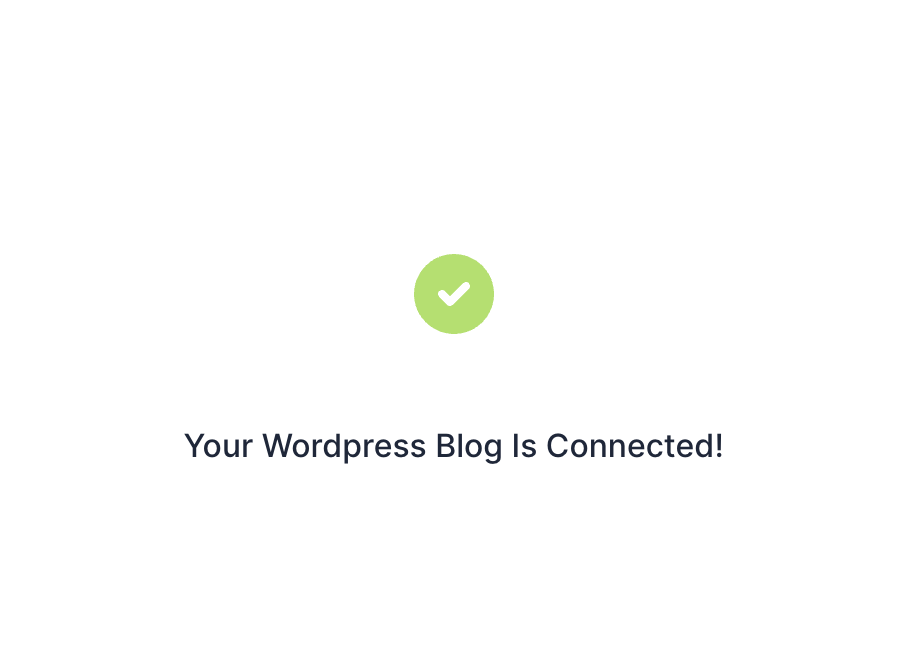
You will then be redirected back to WPAutoBlog and see the success message.
Supported languages
Pabbly Connect integration
WPAutoBlog can automatically send your published article data to Pabbly Connect using webhooks. You can then use Pabbly to pass this data to Google Sheets, Google Docs, Notion, and thousands of other supported apps.
Step 1 — Create a workflow in Pabbly Connect
- Head over to Pabbly and log in to your account.
- Select Pabbly Connect from the list of products.
- Click Create Workflow and create a new workflow.
- Inside the workflow, click Add Trigger.
- Select Webhook by Pabbly from the apps menu.
- For the App Event, select Catch Webhook (Preferred).
- Click Connect.
Pabbly will now display a unique webhook URL for your workflow. Copy this URL. You will need it in the next step.
Step 2 — Connect Pabbly to WPAutoBlog
- Log in to your WPAutoBlog account.
- Go to the Accounts page.
- Find the Webhook URL field.
- Paste the webhook URL you copied from Pabbly.
- Save your changes.
Your Pabbly webhook is now connected to WPAutoBlog.
Step 3 — Capture your first webhook response
Before creating your test article, return to Pabbly Connect and make sure Webhook by Pabbly is waiting for a webhook response.
If it is not currently waiting, click Capture Webhook Response. Leave Pabbly waiting for the response while you create an article in WPAutoBlog.
Step 4 — Create an article and export it to your webhook
- Go to Post Scheduler in WPAutoBlog.
- Enter the keyword or topic for your article.
- From the available options, enable Export to Webhook.
- Continue with creating and scheduling your article as usual.
Once the article has been generated and successfully published, WPAutoBlog will send its article data to your configured webhook.
Give WPAutoBlog a little time to process the article, then return to Pabbly. You should see that Webhook by Pabbly has captured the response from WPAutoBlog.
Data sent to Pabbly
When an article is exported to your webhook, WPAutoBlog sends information about the published article that you can use in subsequent Pabbly workflow steps.
| Field | Description |
|---|---|
event |
Event name, currently article.published. |
domain |
The WordPress website/domain where the article was published. |
article.title |
The published article title. |
article.status |
The WordPress article status, for example publish. |
article.url |
The public URL of the published article. |
article.published_at |
The publication date and time returned by WordPress. |
article.featured_image_url |
The public URL of the article's featured image when available. |
article.body |
The HTML body of the published article. |
Example payload:
Step 5 — Send article data to Google Sheets
Once Pabbly has captured your WPAutoBlog webhook response, you can send that information to another app. In this example, we'll automatically add each published article to Google Sheets.
Create your spreadsheet
Create a Google Sheet and add the column headings for the article information you want to save. For example:
- Title
- Status
- Article URL
- Published At
- Featured Image
- Domain
Add Google Sheets to your Pabbly workflow
- Return to your workflow in Pabbly Connect.
- Hover over the Webhook by Pabbly step and click the plus (+) icon to add another app.
- Select Google Sheets.
- Choose Add New Row as the App Event.
- Click Connect.
- Create a new Google Sheets connection or select an existing connection, then save it.
- Select the spreadsheet you created earlier.
Pabbly will automatically retrieve the column headings from your Google Sheet.
Map your WPAutoBlog data
Map each Google Sheets column to the corresponding value captured by the webhook. You can press the forward slash (/) while mapping a field to view the available webhook response data.
For example, your mapping could look like this:
| Google Sheets column | WPAutoBlog webhook data |
|---|---|
| Title | article.title |
| Status | article.status |
| Article URL | article.url |
| Published At | article.published_at |
| Featured Image | article.featured_image_url |
| Domain | domain |
Step 6 — Test your automation
After mapping the required fields, click Save & Send Test Request in Pabbly.
Open your Google Sheet and check the results. A new row should appear containing the article data captured from WPAutoBlog.
What else can you automate?
Google Sheets is only one example. Once Pabbly receives your WPAutoBlog article data, you can use it to build many different workflows depending on the apps and actions available in your Pabbly account.
- Article published → Add a row to Google Sheets.
- Article published → Create a page in Notion.
- Article published → Create a Google Doc.
- Article published → Send a notification.
- Article published → Pass article information to another supported app.
- Article published → Continue into a larger multi-step Pabbly workflow.
Most common reasons for connection issues
The most common reason for connection issues is a missing application password and username. Make 100% sure you saw the big green checkmark at the end confirming that you completed the authorization flow.
If you use a custom wp-admin URL, use our
custom wp-admin connector.
I connected my site correctly, but posts don't appear
- Go to the Websites page.
- If it shows the green Connected badge, click Error Log.
-
If the error log is empty or shows
0, our server cannot reach:http://yoursite.com/wp-json/wp/v2/postsProceed with Solution A below.
If you see a rest_cannot_create / 401 error,
install and activate the Application Passwords plugin and follow these steps.
Download the plugin: WordPress REST API Authentication
Then add the following two lines to your .htaccess file after the RewriteBase:
Solution A
- Go to Wordfence → All Options, enable WordPress application passwords, then click Save.
- Uncheck: Block IPs who send POST requests with blank User-Agent and Referer.
Plugins that can cause the same issue and may need their settings adjusted include:
Only posts scheduled after you connected your blog get synchronized. Posts created before connecting are available for testing, but they do not get synchronized to your blog.
Cloudflare
Download and install the WPAutoBlog plugin: Download Plugin .
Wordfence
Activate application passwords in Wordfence:
- Go to Wordfence → All Options → Enable WordPress application passwords and click Save.
- Uncheck: Block IPs who send POST requests with blank User-Agent and Referer.
Wordfence & other security plugins
Some security plugins can prevent WPAutoBlog from connecting to or using your WordPress site.
Make sure application passwords and the WordPress REST API are enabled.
Also uncheck:
GoDaddy REST API problem
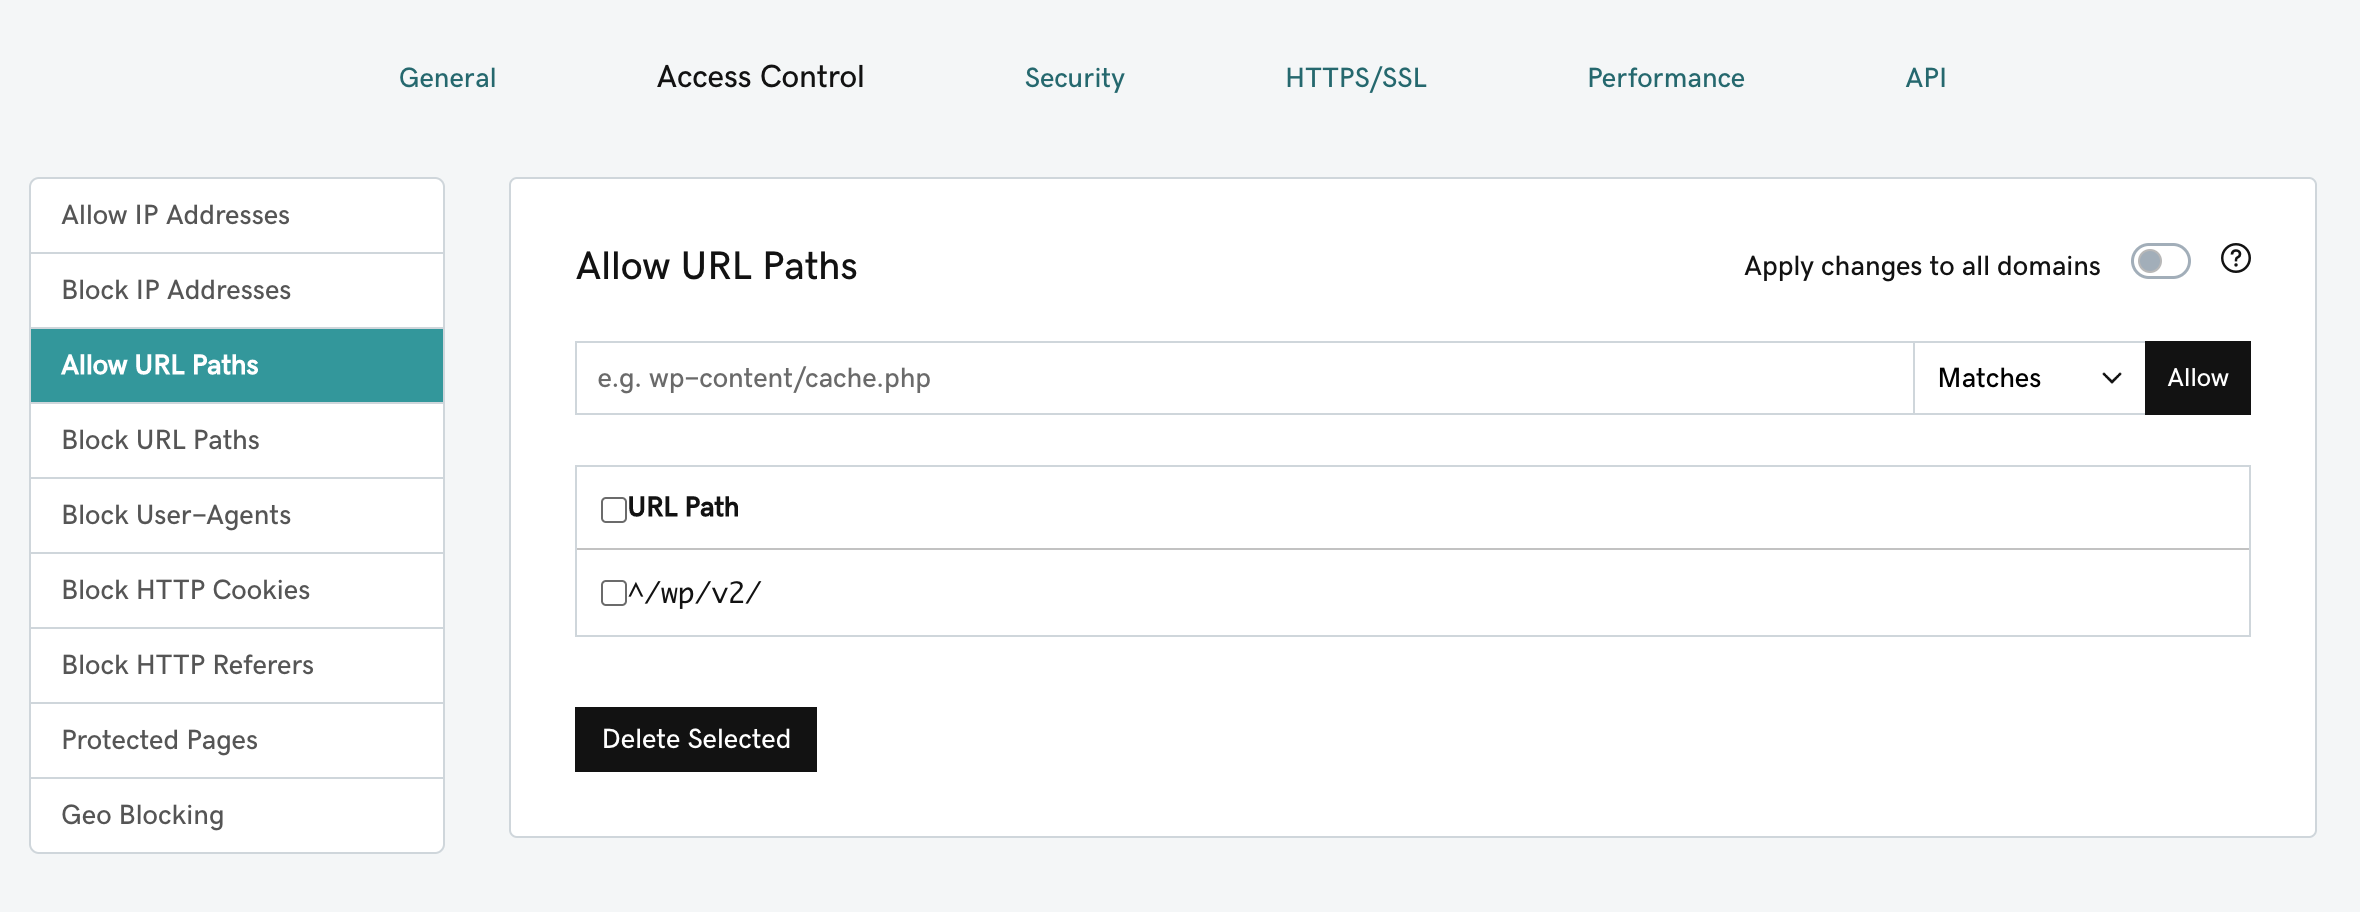
To permanently allow GoDaddy to access the WordPress REST API:
- Under Website Security and Backups, click the website you want to manage.
- Under Firewall, click Details.
- Click Settings.
- Click Access Control.
- Click Allow URL Paths.
- Add
/wp/v2/to the input field and click Allow.
I was redirected to my WordPress admin homepage when trying to connect
Sometimes users get redirected to their WordPress admin homepage instead of the application approval page.
Install this plugin to fix the problem: Download Application Passwords .
500 server error when trying to connect
You must use the path to your WordPress admin area, not only your domain.
The content gets detected as AI. What can I do?
OpenAI shut down its own AI text detector because these detectors are not reliable: Source.
These tools can produce false positives. Even the Constitution of the United States has been identified as AI-generated by some detectors: Source 2.
If even major generative AI providers cannot accurately identify AI-written text, tools such as GPTZero cannot be treated as definitive proof.
Why are there no H3 tags?
The AI automatically decides whether an article should use H1/H2/H3 headings or only H1/H2 headings.
The content is intended to make sense naturally rather than follow exactly the same heading template every time. This provides more variation between articles.
Why does internal auto-linking not work?
WPAutoBlog scrapes your sitemap during the initial connection and then again every 24–48 hours.
If you start with an empty blog, your sitemap will also be empty, so there are no existing links available for auto-linking.
Image upload doesn't work
There are two common reasons why a featured image is not displayed:
- Check your WordPress Media Library. If the image was uploaded successfully, the issue is likely related to your theme settings.
- If the image is not in the Media Library, it is likely a permissions issue. Go to the WPAutoBlog Websites page and click Test Image Upload.
Special characters are displayed incorrectly
In wp-config.php, the database encoding should be utf8mb4.
Some hosts configure utf8 by default.
Change it to: